需求:
最近在做图像识别的时候,遇到了一个问题,图片很多并且图像比较大,没有办法上传到服务器,于是想到了用 python 批量压缩。
用到 PIL 库,PIL 是 Python 平台事实上的图像处理标准库,支持多种格式,并提供强大的图形与图像处理功能。使用如下命令安装:
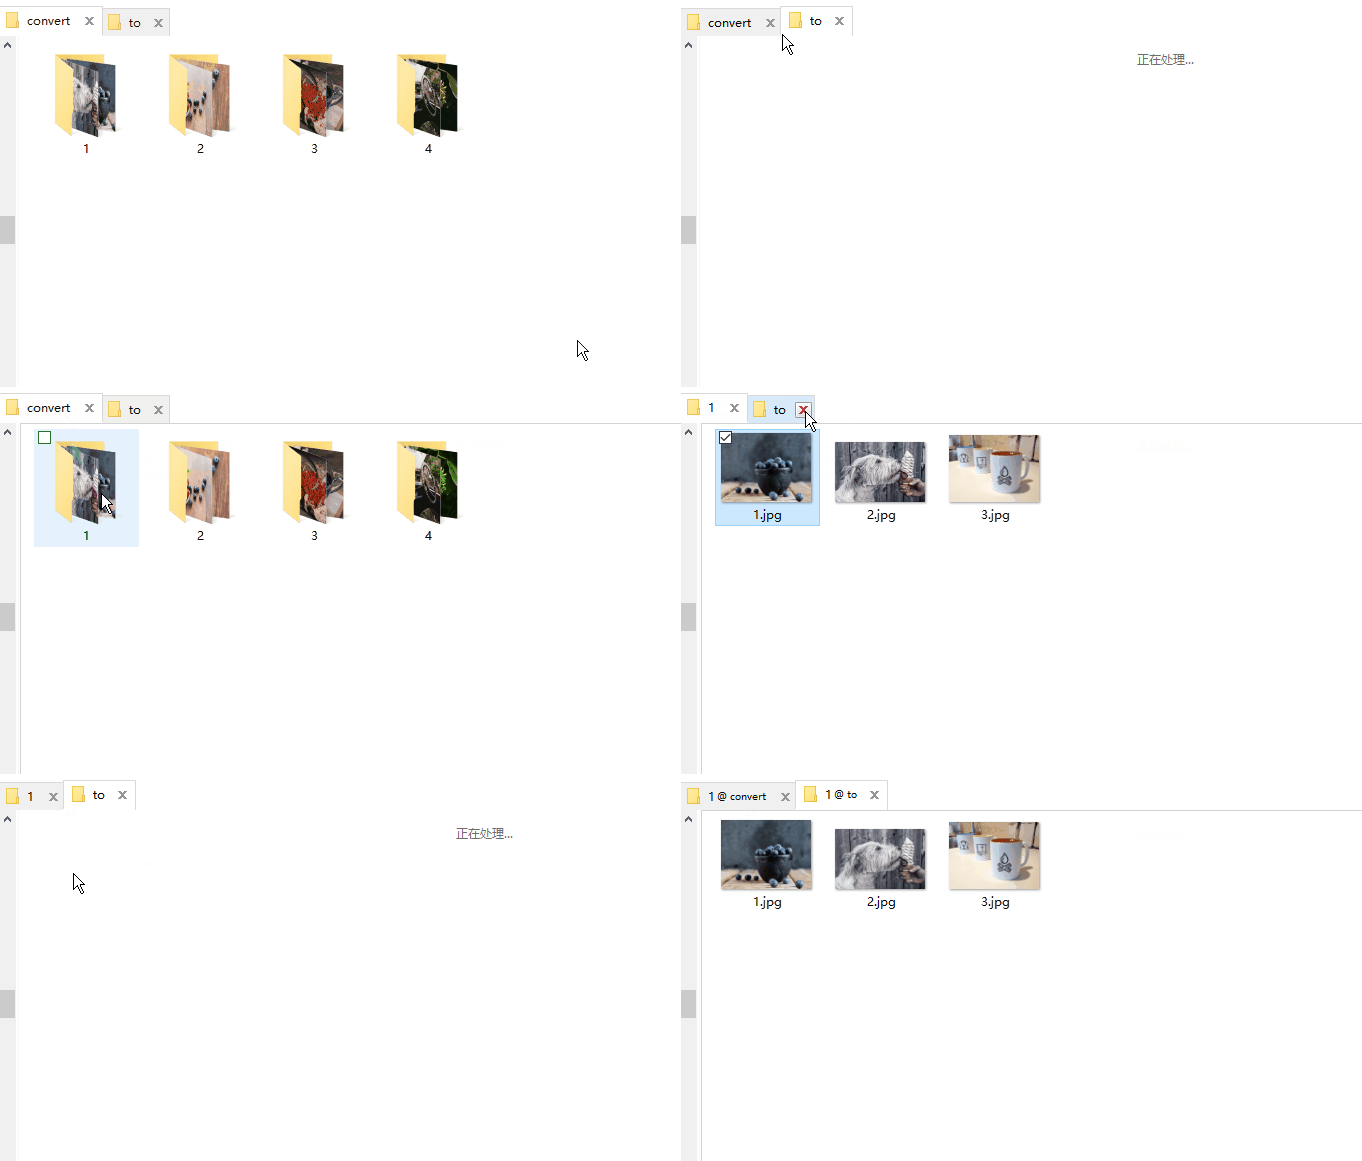
效果图如下:
![维持原目录结构]()
代码如下:
注意:
- 如果你的图片有其他图片后缀名(比如:bmp)直接在 suffix 数组中添加即可
- 控制
save(dstFile, quality=80, subsampling=0) 中的 quality 即可控制图片大小
- 如果希望控制图片尺寸,修改
resize((int(w), int(h)) w 和 h 即可
- 替换 srcPath(图片原始路径)和 dstPath (图片生成路径)路径即可使用
1
2
3
4
5
6
7
8
9
10
11
12
13
14
15
16
17
18
19
20
21
22
23
24
25
26
27
28
29
30
31
32
33
34
35
| from PIL import Image
import os
srcPath = r'E:\图片\convert'
dstPath = r'E:\图片\to'
def compressImage(srcPath, dstPath):
suffix = ['.jpg', '.png', '.jpeg']
for dirpath, dirnames, files in os.walk(srcPath):
for file in files:
file_path = os.path.join(dirpath, file)
for fix in suffix:
if file.endswith(fix):
srcFile = os.path.join(dirpath, file)
floder = dirpath.split('\\')[-1]
dstFloder = os.path.join(dstPath, floder)
if not os.path.exists(dstFloder):
os.makedirs(dstFloder)
dstFile = os.path.join(dstFloder, file)
try:
img = Image.open(srcFile)
w, h = img.size
dImg = img.resize((int(w), int(h)), Image.ANTIALIAS)
dImg.save(dstFile, quality=80, subsampling=0)
print(dstFile + " 成功!")
except Exception:
print(dstFile + "失败!")
if __name__ == '__main__':
compressImage(srcPath, dstPath)
|

